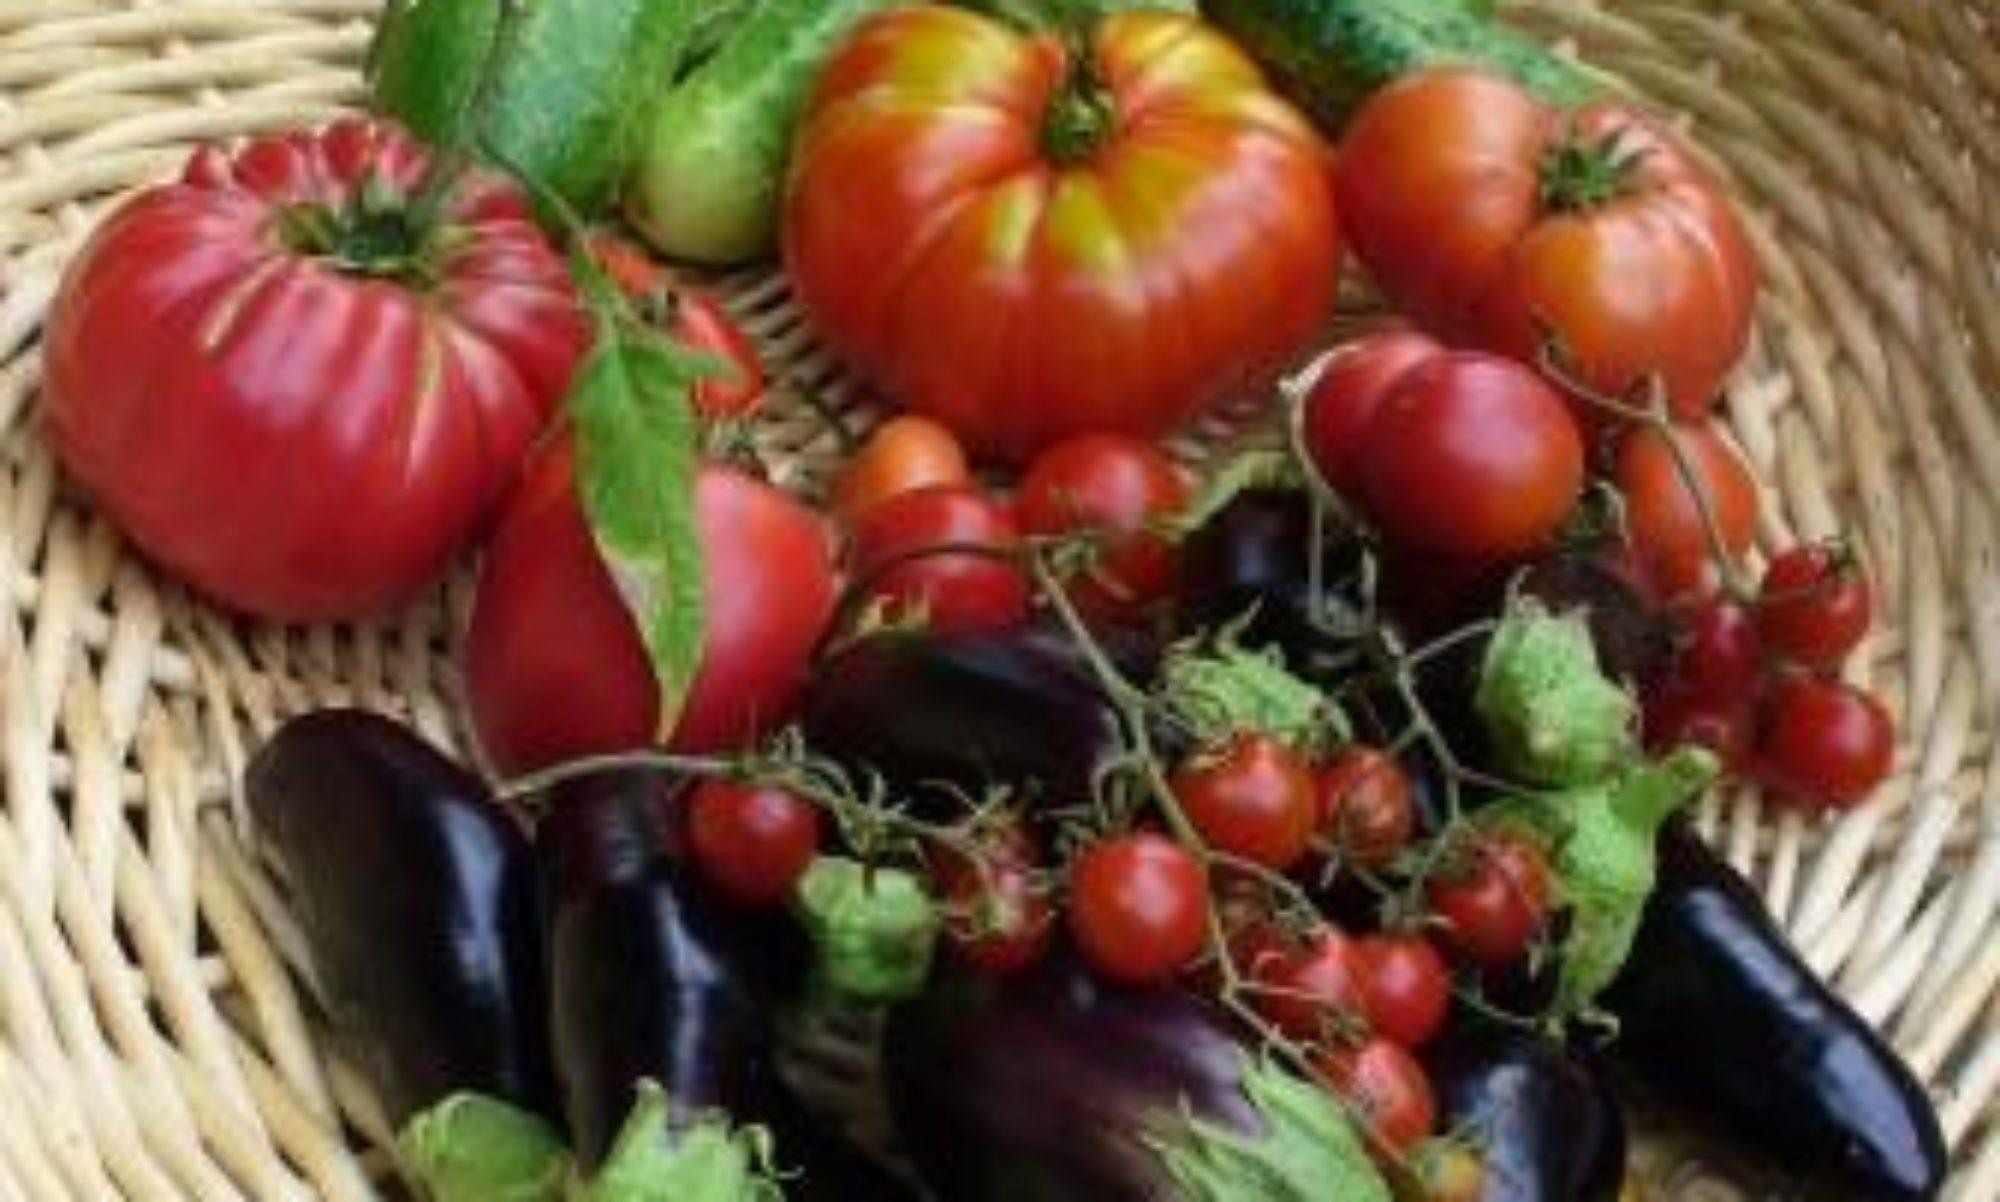
Our first day selling at the Snohomish Farmer’s Market was a big success. What were the odds for a cloudless day in early May?


High Dry Farm, Sultan, Washington….Certified Organic
Our first day selling at the Snohomish Farmer’s Market was a big success. What were the odds for a cloudless day in early May?

3″ of heavy wet snow is not helping our early crops, but most are protected by high tunnels, low tunnels or greenhouse.

My goal is to produce 1000 plants – ten each of one hundred varieties.
This fall we have worked to improve a section of a horse pasture. It was originally part of a raspberry farm, so it has hills and valleys spaced at 4′ intervals reflecting where the rows of fruit used to be. I rototilled about an acre, and removed 500 lbs of rocks. Then I spread a ton of manure and a quarter ton of lime. After this photo was taken, I rototilled once more, smoothed the surface with our pasture groomer, and spread 5 lbs of orchard grass seed.


When my pea crops stopped producing, I allowed those pods that had become to mature to dry on the vine. When shelled, this yielded 3 lbs of snow pea seeds and 2 lbs of shelling pea seeds. I will use these to produce microgreen pea shoots over the winter. This amount of seeds purchased commercially would cost $80-$100 including shipping.

I am building a high tunnel greenhouse this summer. Only the back wall remains to be completed, as shown below.
The structure is 13′ by 64′, with the hoops 7.5′ tall at the center. I have been roughly following the plans described in this pdf from Johnny’s Seeds. The beauty of this approach is that the material with the most expensive shipping costs, the hoops, can obtained locally. The hoops are formed by bending and joining two chain link fence top rails, which are sold by local Lowes and Home Depot stores. Cheapskate that I am, I did not buy the hoop bender device sold by Johnny’s, but I created my own bender by cutting a 7′ radius arc into a piece of 2×10 lumber. Here is the bender I created, mounted on the wall of my tractor shed.
I deviated from the pdf plans by using 3/4″ EMT conduit for the center purlin, and simply linked this to the hoops with carriage bolts. The Johnny’s plans use more fence top rails and link these to the hoops with pricey adapter brackets. My approach saves some $ and still produces a very solid structure. Johnny’s provides plans for shorter (6′) and taller (8′) versionsof the hoop house. I split the difference. I pounded 4′ sections of chain link fence post material 2′ into the ground, and inserted the hoop rails about 1′ into the projecting portion of the pipes, giving me hoops that were about 7.5′ at the center.
In preparation for building the greenhouse, I covered the footprint with a tarp for 4 months, killing the grass and weeds, or at least weakening them. I then covered with a half ton of horse manure and rototilled. After skinning the green house, with 6 mil poly, I redug the beds to a depth of about 14-16″ using a broadfork (dimly visible at the far end of the high tunnel) , and worked in another quarter ton of composted horse manure along with 10 lbs of lime and 10 lbs of bone meal. The soil is still very rough and lacking tilth, but tilth will come with time and love
As you can see, I have already transplanted a row with tomatoes, with a few melon plants at the end of the row. I am creating slightly raised beds. The beds are 30″ wide, with 10″ paths. I am putting two lines of rip tape for drip irrigation in each bed, but these are not yet connected to the requisite filter and pressure regulator. That will be accomplished this weekend. The tomatoes will be trained to climb twine suspended from the hoops above (images coming soon). The two rows at the side of the greenhouse will be planted with lettuce, spinach, kale and brassicas, hopefully producing crops that will last late into the winter.
Here is my new cable-heated bench for getting my tomato starts off to a strong start. 100′ of heating cable on a 3×12′ bench. An Inkbird C206 thermostat controls Redi-heat 8554 cable.
[Update 4/5/2017] Sadly, the heating cables stopped heating after only one month in use. The thermostat continues to work well, so it now powers two 150W heat lamps.