Our first day selling at the Snohomish Farmer’s Market was a big success. What were the odds for a cloudless day in early May?

High Dry Farm, Sultan, Washington….Certified Organic
Our first day selling at the Snohomish Farmer’s Market was a big success. What were the odds for a cloudless day in early May?
3″ of heavy wet snow is not helping our early crops, but most are protected by high tunnels, low tunnels or greenhouse.

My goal is to produce 1000 plants – ten each of one hundred varieties.
High & Dry Farm will be selling this year most Thursday afternoons at the Snohomish Farmer’s Market.
Here is our calendar.

I have removed the last of the tomato plants from the high tunnel and begun replacing them with lettuce and spinach transplants. The high tunnel has performed beautifully in its first summer season.
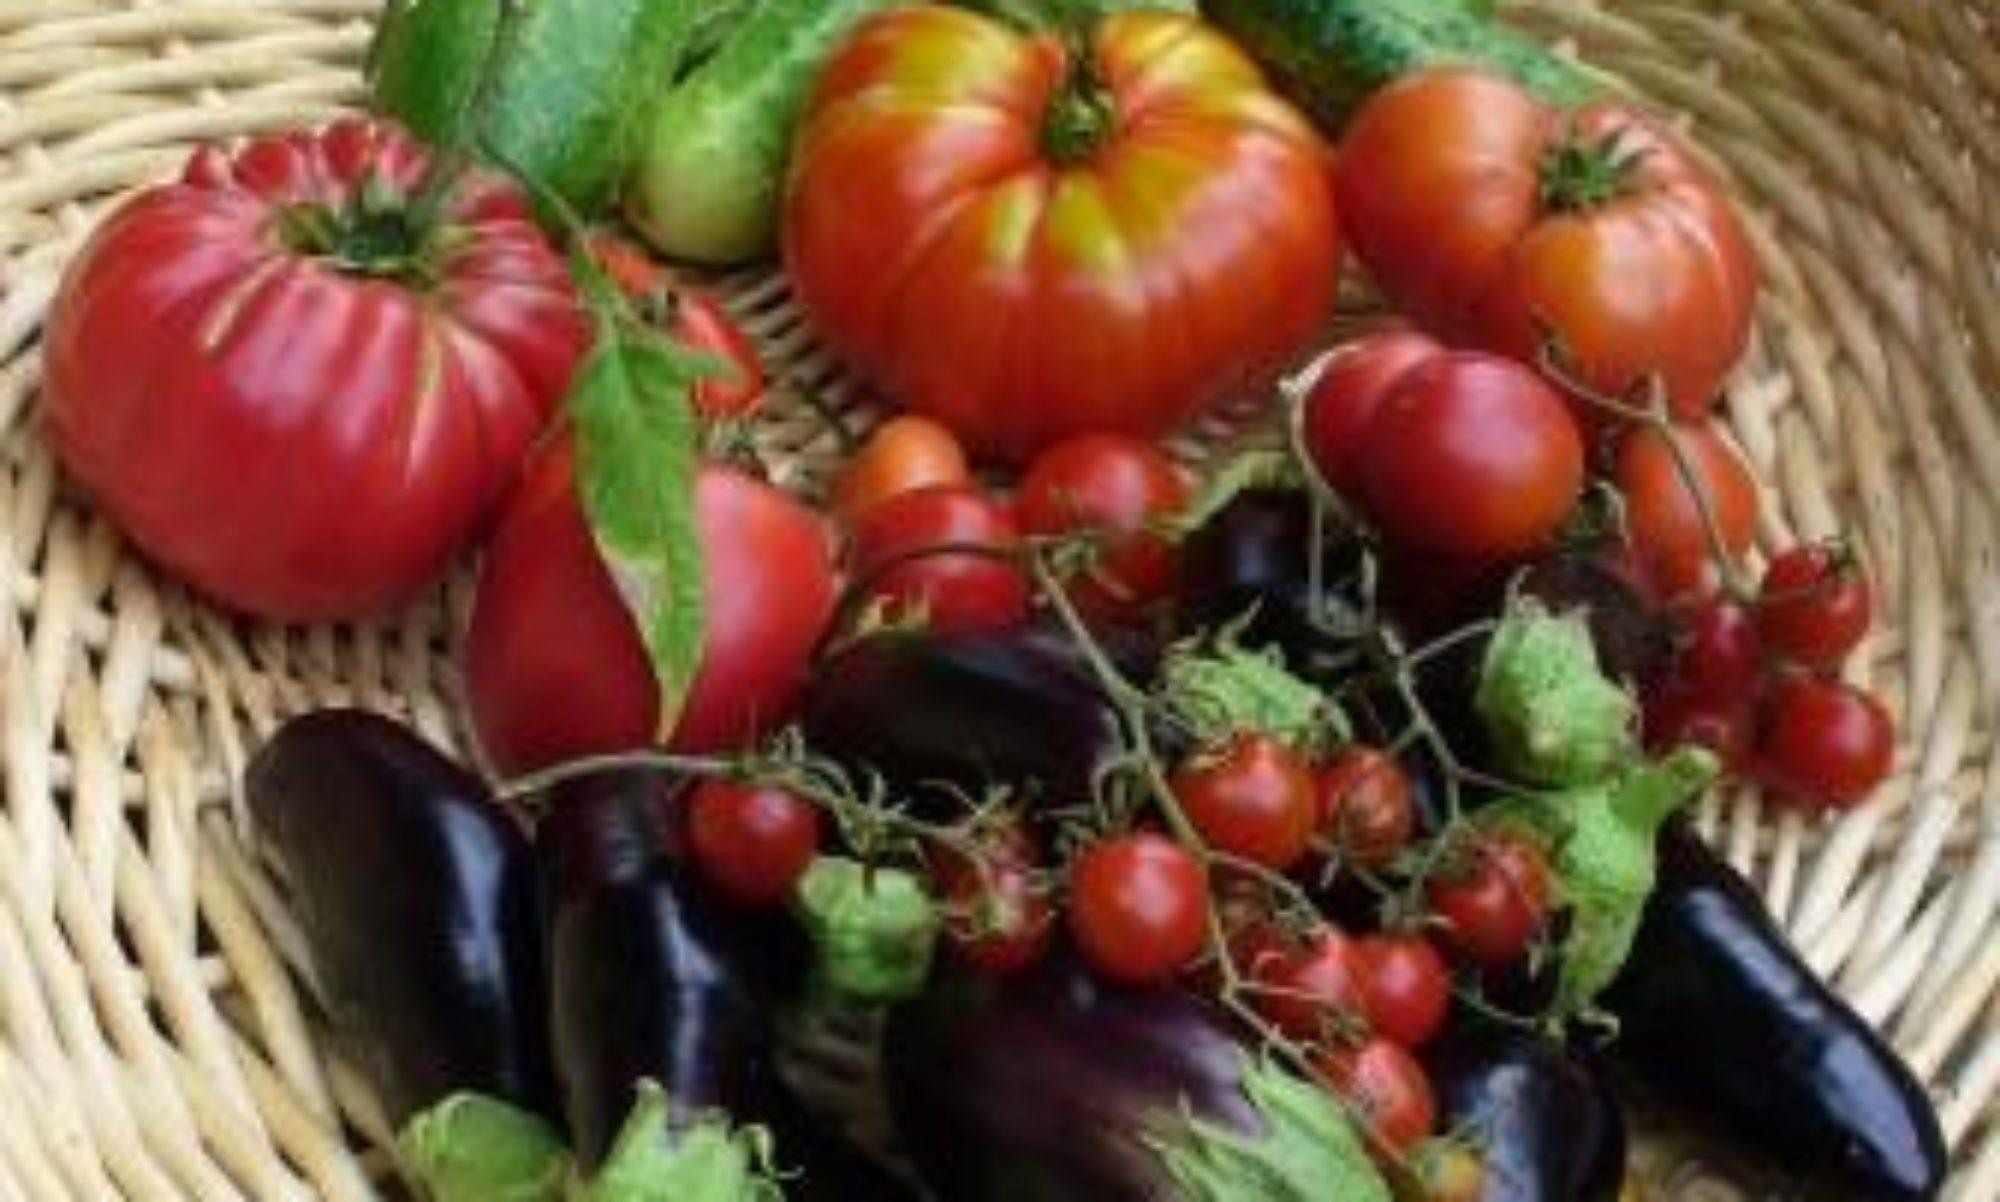
As usual, the tomato plants in the garden have all fallen to late blight, but the tomato plants in the high tunnel greenhouse are still thriving. Here are some of our heirloom beauties.

This fall we have worked to improve a section of a horse pasture. It was originally part of a raspberry farm, so it has hills and valleys spaced at 4′ intervals reflecting where the rows of fruit used to be. I rototilled about an acre, and removed 500 lbs of rocks. Then I spread a ton of manure and a quarter ton of lime. After this photo was taken, I rototilled once more, smoothed the surface with our pasture groomer, and spread 5 lbs of orchard grass seed.


When my pea crops stopped producing, I allowed those pods that had become to mature to dry on the vine. When shelled, this yielded 3 lbs of snow pea seeds and 2 lbs of shelling pea seeds. I will use these to produce microgreen pea shoots over the winter. This amount of seeds purchased commercially would cost $80-$100 including shipping.

