
Koralik, as usual, was one of the earliest tomatoes to ripen, producing large yields of marble to ping-pong ball-sized fruit.
High Dry Farm, Sultan, Washington….Certified Organic

 My 4’x4′ patch of Alderman peas is now 8 feet tall, and loaded with a huge crop. Today I picked a bunch and shelled them – yielding about a pound of shelled peas. These are destined for dinner tonight.

¡Buen provecho!


 juices rose to the top and covered the cabbage. This was covered with a dish plate, and the plate was weighted down with two quart zip-lock plastic bags filled with water. This will sit in the corner of our kitchen for 2 weeks, at which point it should be ready to eat. With refrigeration, the finished product will last a year. Alternatively, the kraut can be canned in a boiling water bath processor.

I have a bumper crop of red currants on my 3 plants. I made 20 pints of currant jelly last week-end.
 Well there always is light at the end of the tunnel. The coldest winter and coldest wettest spring in recent memory was followed by the driest sunniest summer in decades. I ended up with so many healthy tomato seedlings that I sold them, on consignment, to the local farm and garden store. The store sold nearly $1000 at retail price, representing a 50% mark-up. After costs (plastic pots, etc) my profit was about $400.
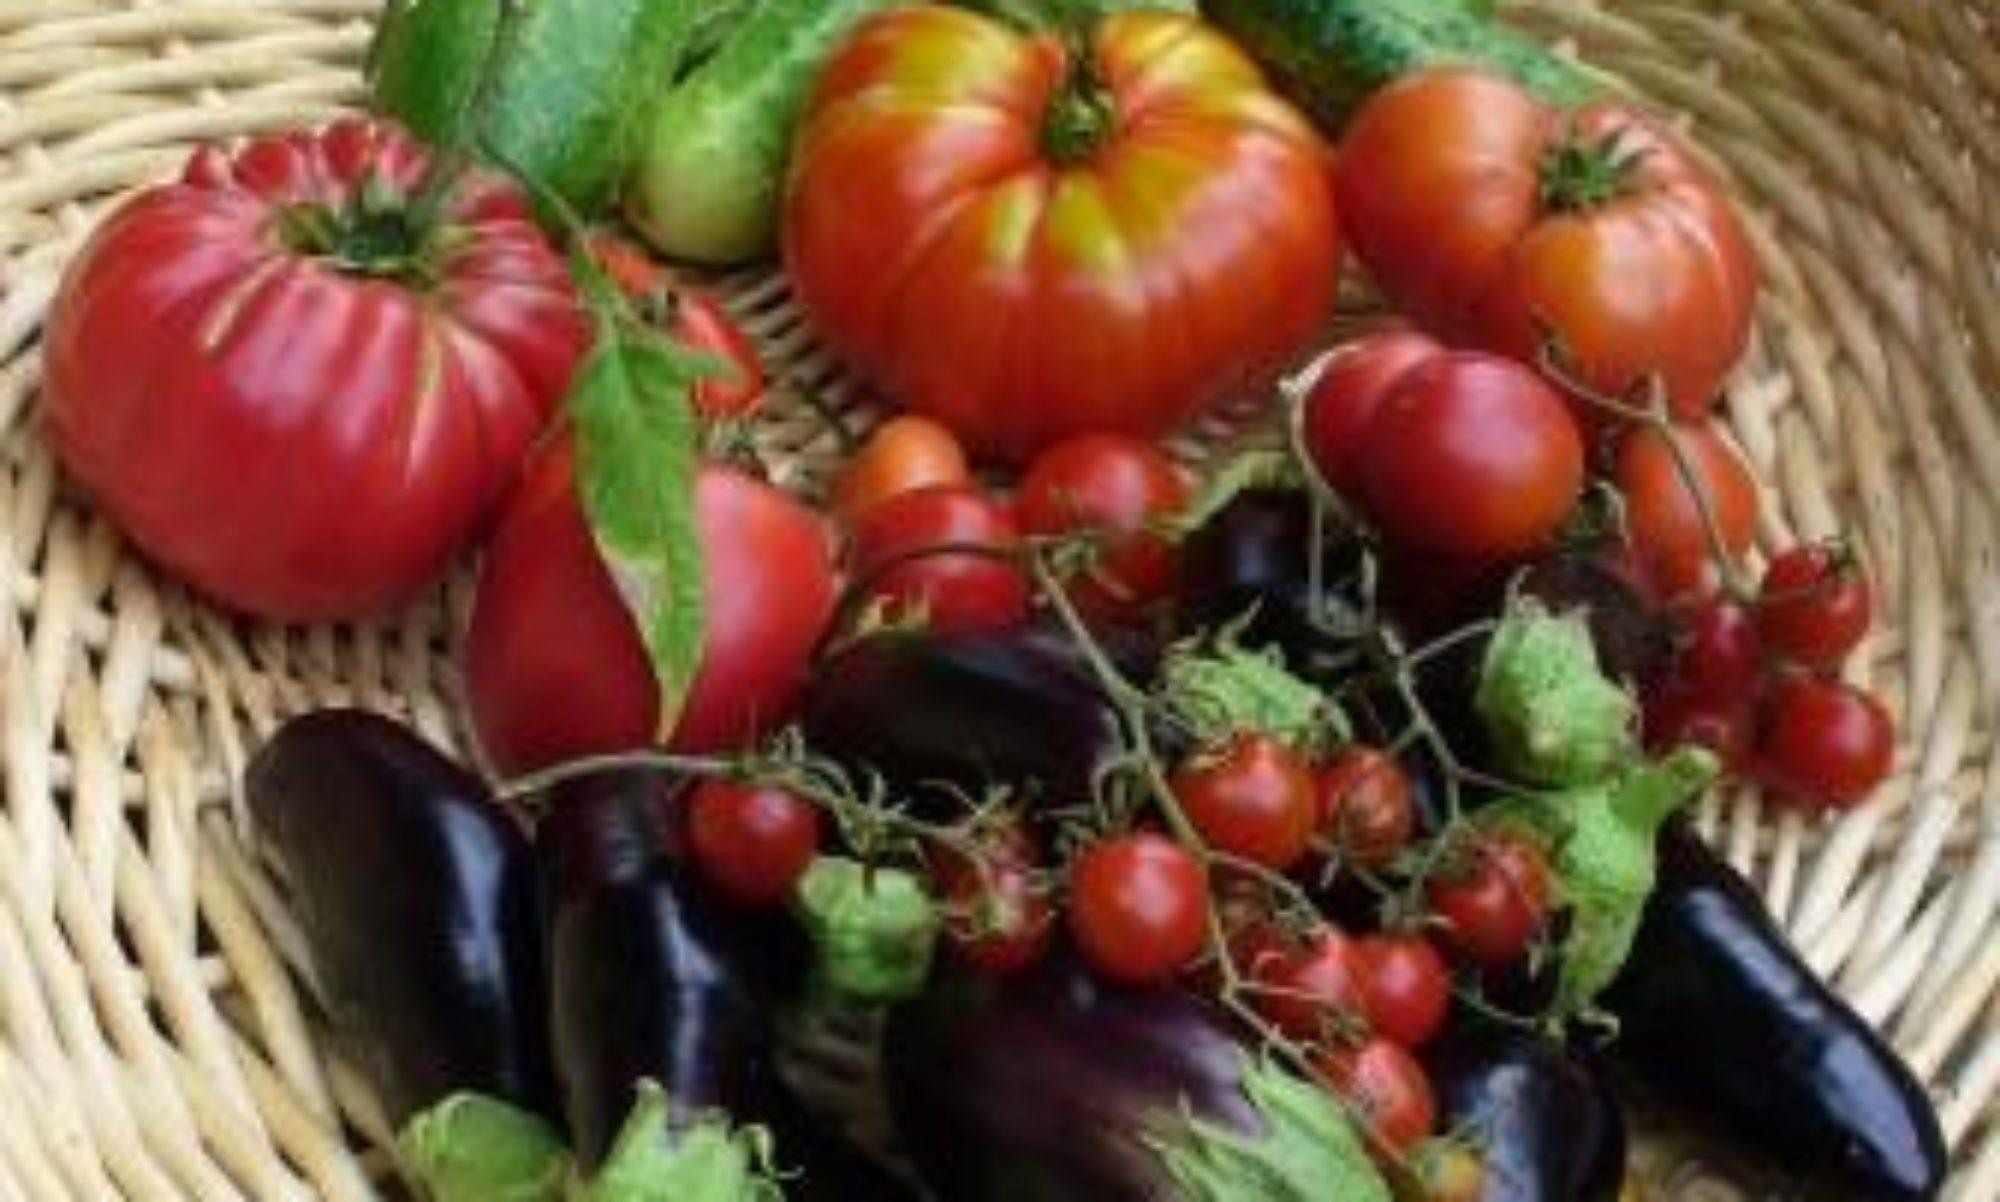
I planted over 40 varieties of mainly heirloom tomatoes. They are listed below. The first plant to ripen fruit was Koralik. Its tiny ( 1/2″) fruit have intense tomato flavor. Following close behind are Sausage and Besser.
You must be logged in to post a comment.